Look!! We have some walls!!

Rob and I have been working on framing the walls in the comfort of our garage for the last few weeks. This past weekend, we were finally able to put them up! They are a bit heavy, and it’s difficult impossible to manage measurements and placement with only two people. Luckily, we were able to find some magical internet friends!
Thanks a lot /r/321!! With the help of Cheryl, Price, Amanda, Ellen, Mike, Casey, Eric, Ronnie, Adam, and David (I hope I got those all right… and I can’t forget Brandon, Jade, and Bear), we got all four walls standing and braced. We also celebrated a birthday, and our dog Proton made a friend!
I’m so excited — it really seems like a tiny house now!


Steel Framing
I’ve had a lot of people ask me why we went with steel instead of wood… it definitely has advantages and disadvantages, but overall, I’m very happy with our decision.
The good…
- Ease of use: The steel is soooo nice to work with — none of the pieces are warped or twisted like with wood, and it really seems like you can get things exactly right if you’re willing to do careful measurements. We were amazed how well everything fit together when we put the walls up.
- Recyclability: Steel studs are made of largely recycled materials, and the scraps (or the entire structure eventually) can be recycled. [1]
- Termite resistance: Termites are a big deal down here — we didn’t want our entire house structure to get eaten.
- Strength & weight: A steel stud is lighter than a similarly sized wood stud. The difference isn’t huge since we’re using 18 gauge steel (some people use the lighter 20 gauge, but this doesn’t meet wind load requirements for our area), but the steel has more strength for its weight.
The bad…
- Price: I’ve heard that steel and wood are comparably priced — let me tell you, that’s not true around here. I found only one local company selling 18 gauge steel studs, and they were about twice as much as lumber. The fasteners are also more expensive.
- Possible rust issues: Things rust super fast down here… we don’t think this will be an issue with the galvanized studs, but it could be. Everywhere we make a cut or hole, we use a cold galvanizing spray to protect the bare metal.
Besides that, steel just seemed really cool! I worked on iron and steel for my entire PhD and postdoc, so it’s somehow more personal to me! If you’re considering steel, check out some of the references at the bottom of this post, and definitely consult the Prescriptive Method for Residential Cold-Formed Steel Framing [2] for load tables and lots of helpful diagrams.
Another consideration for steel framing is insulation. Steel acts as a much better thermal bridge than wood, which means that standard “between-the-studs” insulation isn’t very effective. [5] The best method to deal with this is to use continuous insulation on the outside of the steel. This changes the design a little bit from the typical tiny house, but it leaves the space between the studs free for easy plumbing, wiring, and even shelving. More on that in a few weeks…


Leveling & attaching the scissor jacks
We finally got our scissor jacks on the back of the trailer so that it could be leveled before the walls went up. We decided to attach them using bolts instead of welds — that way, we can remove them for transport to get better ground clearance.
In order to have the bolt heads be accessible (so they don’t turn while you’re tightening the nut), we had to go through several layers — the trailer itself (a 6 inch hollow piece of steel), the floor framing, the subfloor, and the bottom layer of track of the wall. This required super long special-order 3/8″ bolts:

When they arrived, we saw they were only threaded on the bottom bit, and they were a bit too long (you don’t get to be very specific in lengths when you get to foot long bolts), so we added some spacers too. Since the holes we had cut in the steel track were rough & large (so they’d fit over the entire nut), we went back and added steel plates to strengthen things, then we caulked around the edges to prevent water penetration. When the walls go up, we’ll still be able to access the bolt heads from inside the storage area in the couch.


We do plan to add two more scissor jacks in the front — those corners are noticeably bouncier than the back ones now.
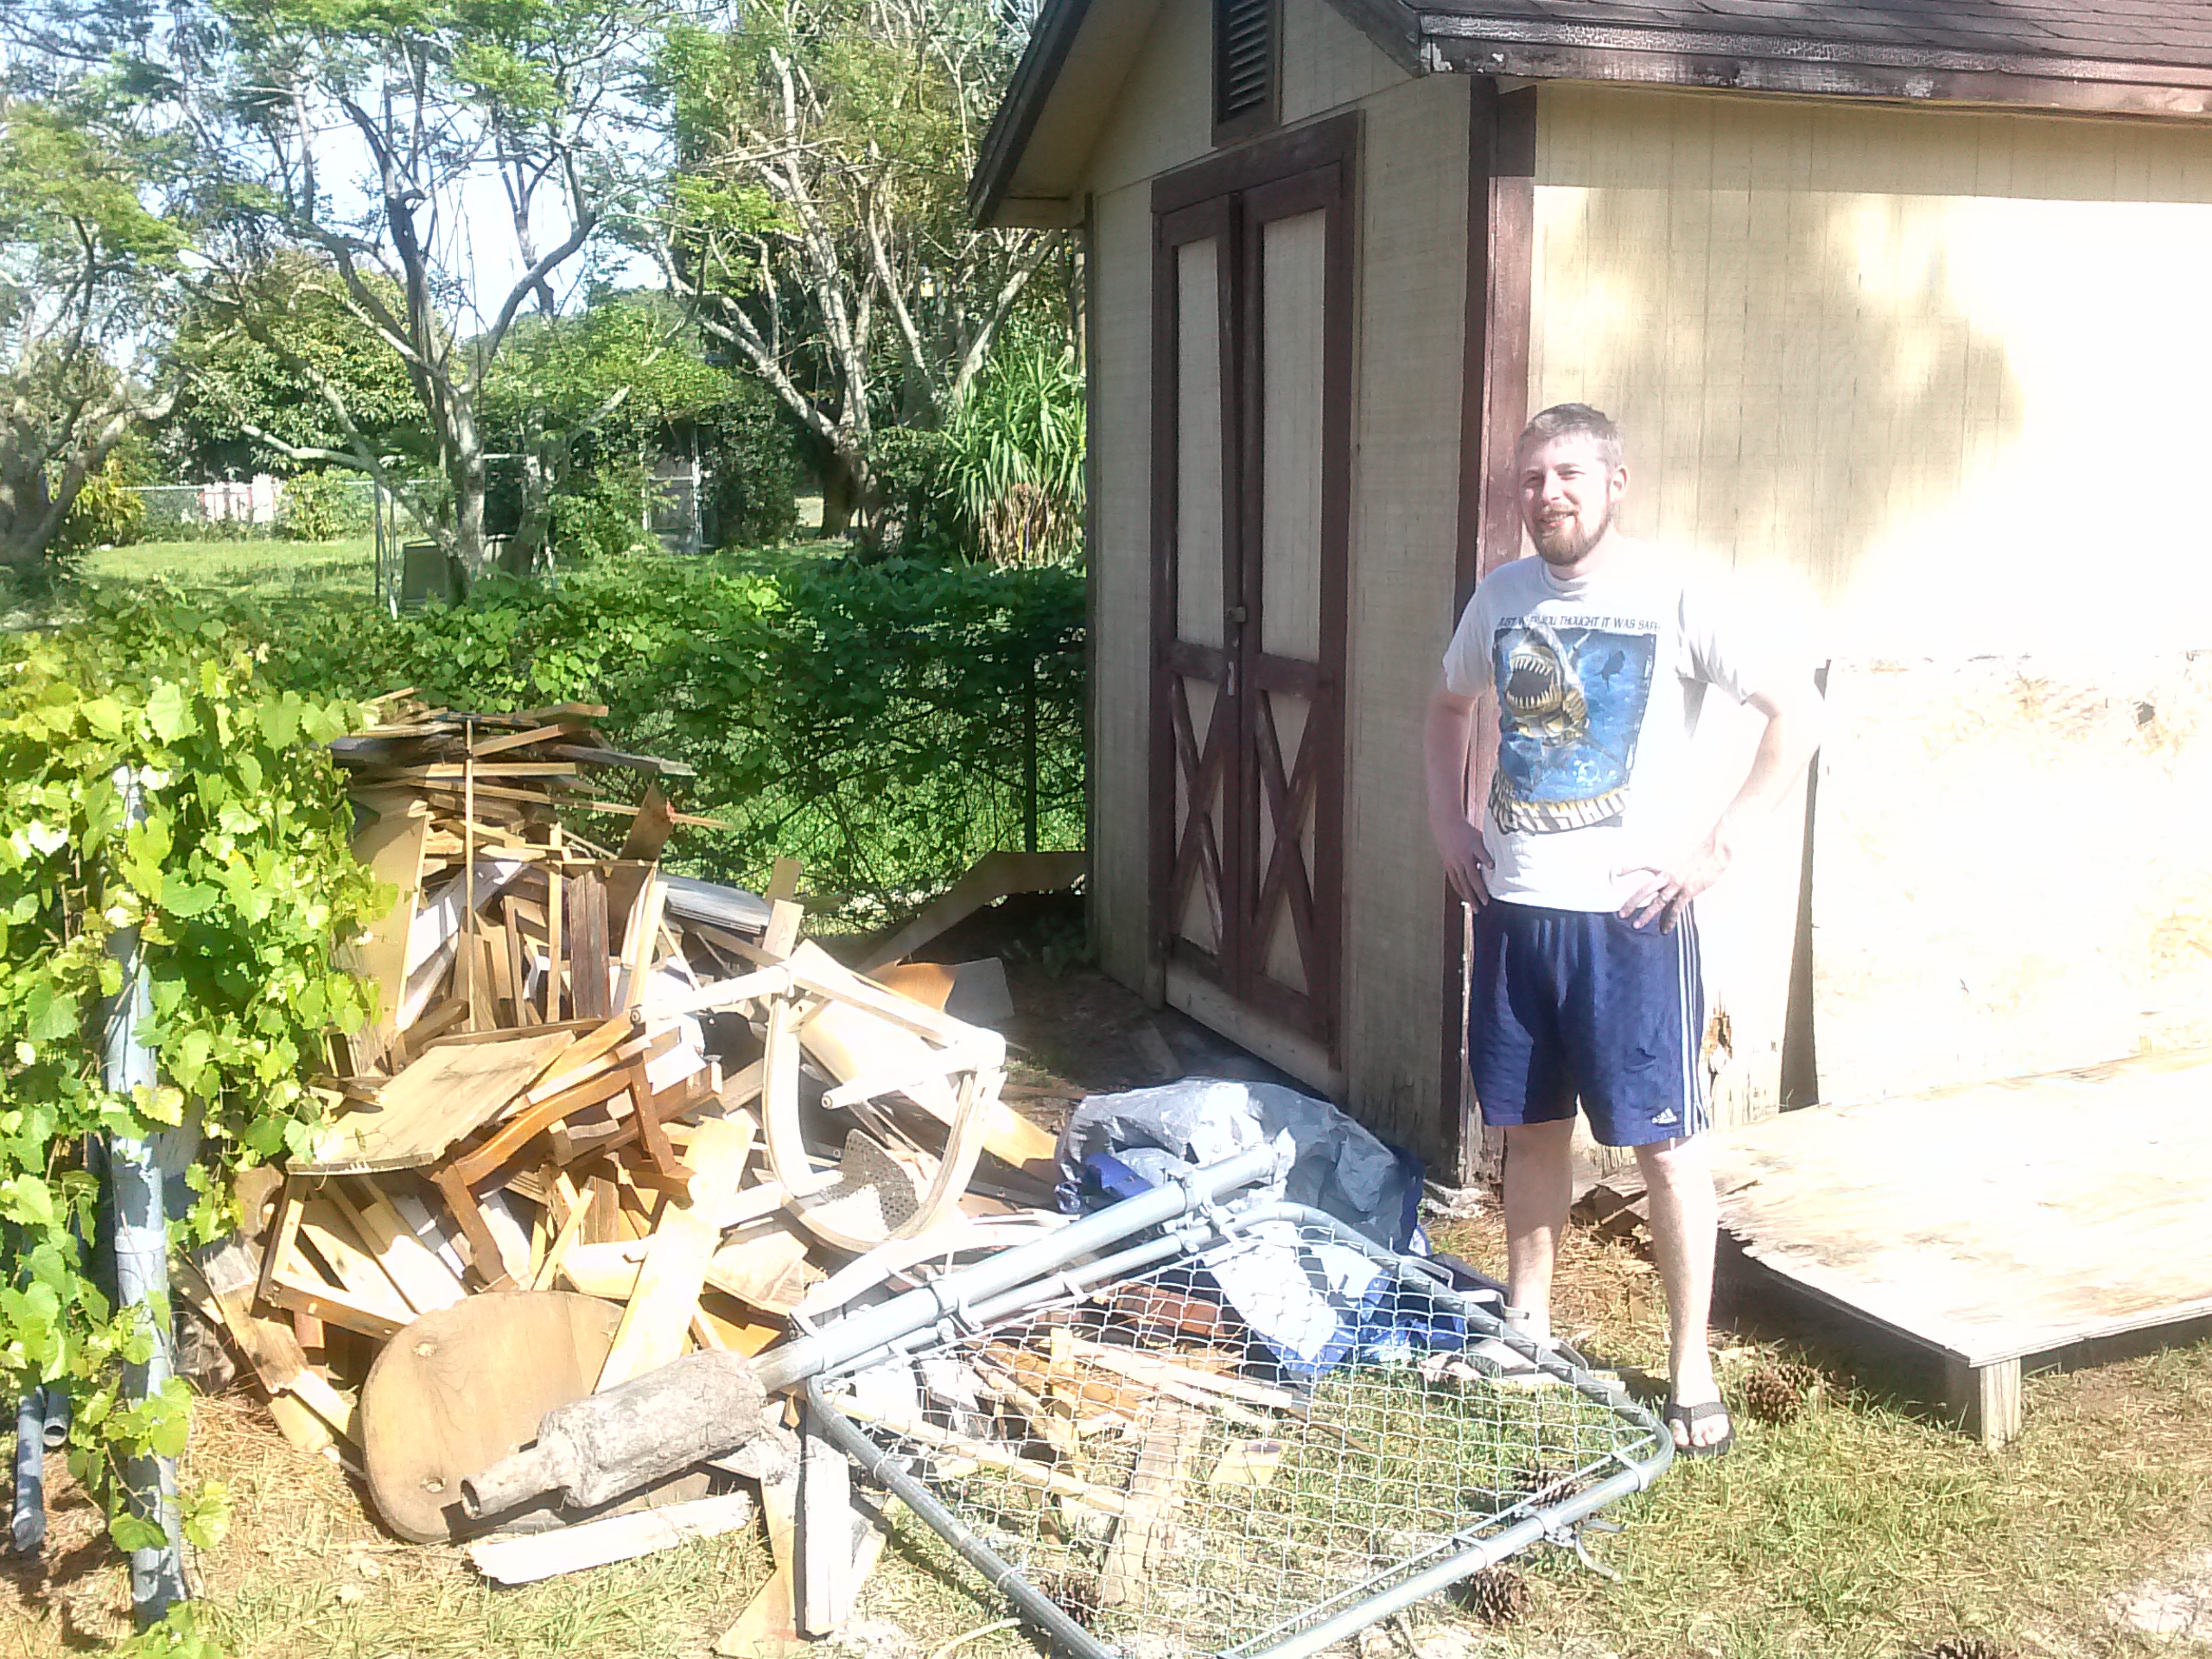
We have a little bit more framing to do (some studs we left out for ease of screwing, loft, etc), but luckily we got most of the heavy pieces in place! More importantly, we made some local friends that I hope we’ll see a lot more of 🙂
References
[2] Prescriptive Method for Residential Cold-Formed Steel Framing
[3] Highly recommend this book: Steel Frame House Construction (also includes a copy of the Prescriptive Method)